Copyright

All photos, images and video excluding advertising and google generated content, or unless otherwise labeled, are Copyright Jephyr (Jeff Curtis). All Rights Reserved.

These images are not in the public domain. Contact me for licensing terms and pricing.

Unauthorized or unlicensed use for all commercial and personal applications is prohibited.

Tuesday, June 7, 2016

Jephyr Visits Motorcycles On Main - Downtown Mesa, Arizona


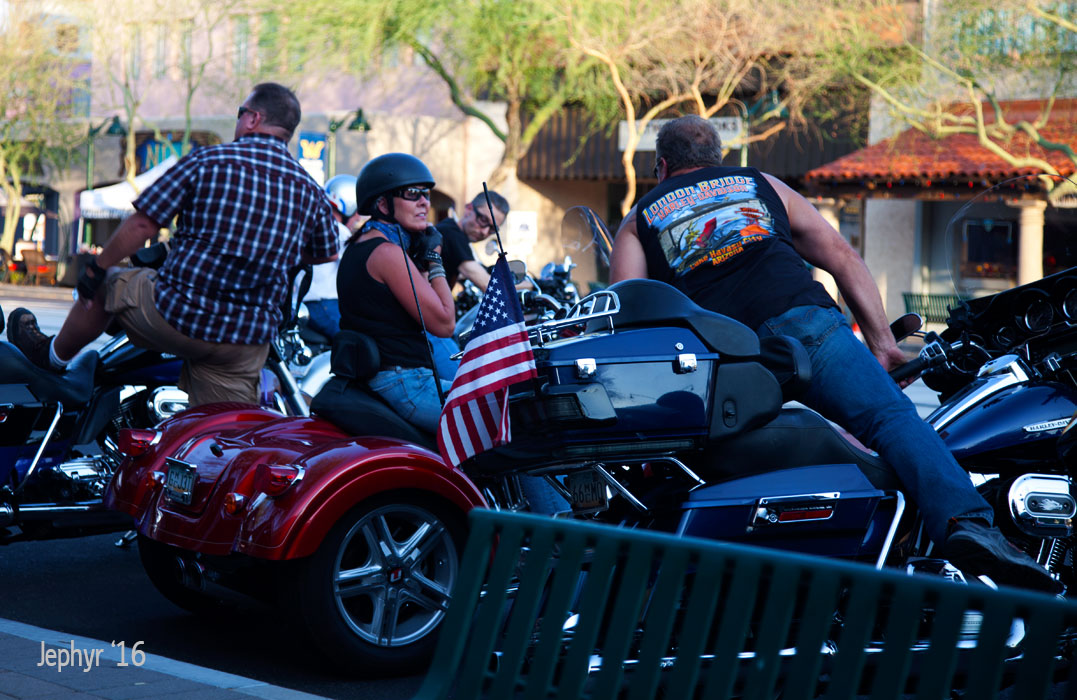
Event participants arriving at Motorcycles On Main - Photo: 2016, Jephyr - All Rights Reserved
Event participants arriving at Motorcycles On Main


Hi!

Last Friday (6-3-16) I went to Mesa, Arizona's downtown for "Motorcycles On Main".

It takes place between 6 and 10pm, every first Friday of the month except July and August.

Photo:  2016, Jephyr - All Rights Reserved
Bikes along the street - while a band performs in the background

The city restricts cars for several blocks along Main...and only motorcycles are allowed in.

They call it a "Shine and Show" event.


Photo:  2016, Jephyr - All Rights Reserved
A custom bike on display at MOM

I arrived there early...too early in fact...because it was still blisteringly hot.

There were a few vendors setting up...and a band was getting ready, tuning their guitars and warming up.  Otherwise, because of the heat, it was pretty dead until later.

So I found shade on the north side of the street and wandered around a bit taking a few shots.

Photo:  2016, Jephyr - All Rights Reserved
One of the many statues along Main

By 7pm things were beginning to pick up.  There were a lot more riders who had come in...and by then two bands were playing on either end of the block.

It was still hot so most people rode in...got off their bikes (mostly Harley-Davidson) and found some cool air and a frosty drink in a bar or restaurant along the street.

Photo:  2016, Jephyr - All Rights Reserved
Folks enjoying the band, a cold one...and talking bikes

Things were finally getting going around 7:30pm or so...but I had to fly.

I hope you enjoy a few of the pics I took there...just snapshots really...nothing fancy.

If you see yourself or bike...feel free to make a comment and let me know what you thought about the event...or if you know someone in a photo, or see their bike, please send them a link.

Thanks for stopping by!


Monday, May 30, 2016

Mogollon Rim Time-Lapse - With Photoshop Adjustments


Hi!

As the dreaded desert summer furnace is being stoked here in the Phoenix area...I'm preparing for the first time to take a class at MCC during these scorching HOT months.

This is necessary because I ain't getting any younger...and I want to complete my degrees in Fine Art and Digital Illustration before they plant me in the ground.

: /

; )

-----------------------


As mentioned in previous posts I just finished the spring semester taking Intermediate Photoshop at CGC.

For my Final Project, I decided to take a time-lapse sequence I captured up at the Mogollon Rim last summer and see if I could improve it.

(Camera:  Canon EOS 5D Mark II with the Canon 24-105mm L Lens and Satechi WTR-A Wireless Timer Shutter)

- See The Final Video At The End Of This Post -


AC, a friend who assisted me with Photography and I got set up on an overlook later one stormy afternoon and captured the rolling sky.  It was kinda a "meh" day...but later when I looked at the footage I saw a remarkable thing:

Campfire wisps of smoke that I didn't even notice when there...suddenly took on an eerie, dramatic appearance in the time-lapse playback.


Unfortunately, as we lost our light in the late afternoon...the sequence got darker and darker and so I wanted to see if I could bring the foreground out a bit more towards the end.

I'd watched a video tutorial on using gradient masks in Photoshop to add adjustments to different parts of images...and decided to see if I could use that technique to improve this sequence. 


  (Click The Image To See It Larger)

 Balancing the foreground and sky on images from the beginning and end of the Mogollon Time-Lapse Sequence - © 2016 Jephyr
 Balancing the foreground and sky on images from the beginning and end of the Mogollon Time-Lapse Sequence

If you want to skip my description of the process for making corrections to the time-lapse sequence...feel free to skip right ahead to the video below.


I took an image from the first part of the sequence...and one near the end...into Photoshop and added a gradient mask (see composite image above) so I could then add separate adjustment layers to both the background and foreground of the image and help balance the light.  *

I used Photoshop's "Action" to record these steps and then the "Automate" function and added the these adjustments to the every image in the entire sequence (nearly 1,000 in all)...once for the image from the beginning...and once for the image from the end.

A look at the Sony Vegas Pro 10 interface during editing.

Then, using Sony Vegas Pro 10, I imported the two sequences and used a cross-fade between the two.  It took a few tries but eventually I got much closer to what I hoped could be accomplished.

You'll see my final result in the video below ...as well as a side by side comparison of it and the original, un-adjusted time-lapse sequence as it was captured.


Thanks as always for stopping by!

------------------------------

*  For those wondering:  Yes...video software does allow masking and effects that might have accomplished the same thing...but this was for a Photoshop class...and is just another way to do it.

: )